File Supply Format
- File Type: PDF only
- Colour Space: Pantone Solid Uncoated or 100% Pantone Black U
- Vector or Bitmap: Either. Supply images at 300dpi
- Transparency & Blends: Make sure ALL transparency have their layers Flattened.
- Fonts: Convert ALL fonts to Outlines/Paths.
Setting up your Page — Bleed & Quiet Zones
Quiet Zone on all edges of Sets, Pads and Books should be 5mm from the trim edge.
If you specify drill holes as additional finishing, be sure to adhere to a quiet zone of 20mm from the trim edge on the side you have specified the drill holes.
NCR Sets only
Leave 5mm from the trim edge clear of any design.
Do not bleed off the glue edge with Sets. You cannot print in this area as ink and the glue we use to group the Sets do not like each other and the process will not work.
NCR Books only
When you have chosen your binding edge, be sure to set up your artwork leaving at least 15mm from the trim edge clear of artwork on the bound edge — anything placed within 15mm will be covered with the binding.
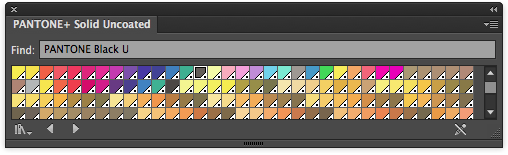
Pantone Colour Library
Pantone + Solid Uncoated
Danger Design Elements — things to avoid
- Thin Lines: 0.5pt minimum
- Avoid large areas of solid ink
Numbering
- Up to 7 digits
- Use Helvetia Condensed Bold 18pt to get a good representation
- Numbering can move by 2.5mm in either direction.
- Positioning: Maximum of 50mm from the top of the page
- One position only
- Colour the start number in Red (100M, 100Y)
- Numbering will be printed in Black Ink only.
- Set number to Overprint
- Convert numbering to Outlines/Paths
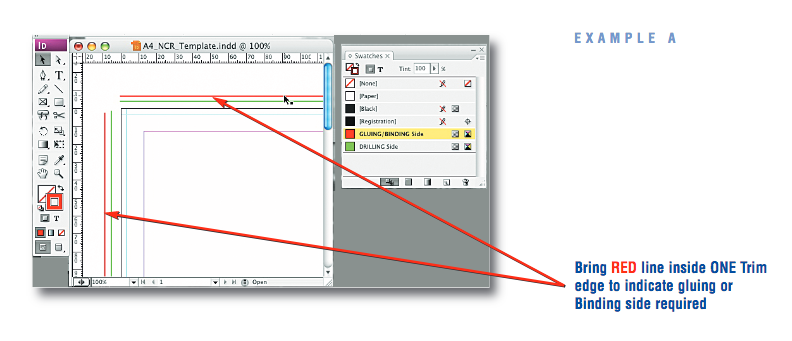
Indicating Gluing/Binding Edge
In all the spot colour NCR templates there is a RED overprinted line for you to use to indicate which side of the artwork you want to be glued/bound. Place the red line just inside the page edge as per the example below.
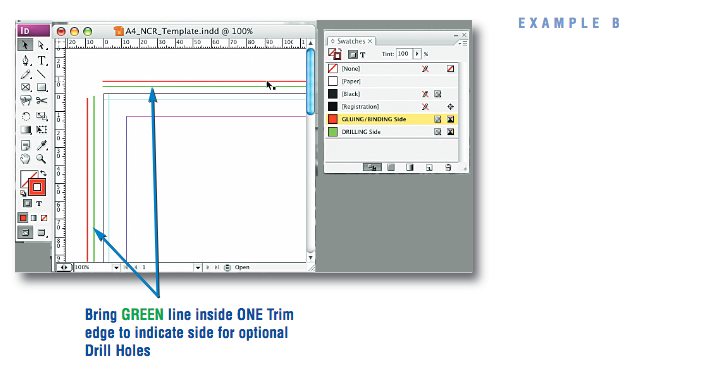
Specifying Optional Drill Holes
To indicate optional drilling (which may also be on the same side that the job is glued or bound), place the overprinted line on the side you want drilled. Let us know when you place your order if you want either a 2-hole Drill or 4-hole Drill.
You do not need to position the drill holes this is done automatically from the information you provide i.e. if you place the green line along the left of the artwork and add finishing for 2 drill holes, it will be drilled on the left edge with 2 holes, positioned for standard 2 hole binding.


 Print this page